DIY Floater Frame for Artwork

It all started as a bit of a whim
I haven’t painted on canvas for years, preferring instead the smooth surface of paper or wood board to the textured weave of canvas.
Canvas does have advantages though, the most important to me being that it is easier than wood to move around in the studio and lighter to ship to buyers.
Because I’ve been painting small works on wood panels there haven’t been any issues with moving or shipping heavy works. Wanting to work on a larger scale though, it was time to give canvas another try. Maybe I could learn to love the texture and feel of the canvas.
So on a bit of whim, I bought six square, cost effective stretched canvas on which to experiment. Despite their inexpensive cost, the panels were flat, taut, smooth and pre primed. All good things.
The depth of them, however, was quite shallow being only 5/8” deep. Not the best.
Because this was a trial about working on canvas, if I was happy with the resultant paintings, I would figure out how to beef up the depth of them to make them feel more substantial.
If they didn't work out, I’d chalk the results up to experience and move on.
As it turned out, despite my reservations about painting on canvas, the resulting paintings were good, really good.
Good enough for me to want to present them at their best. They deserved to be elevated by the addition of a frame.
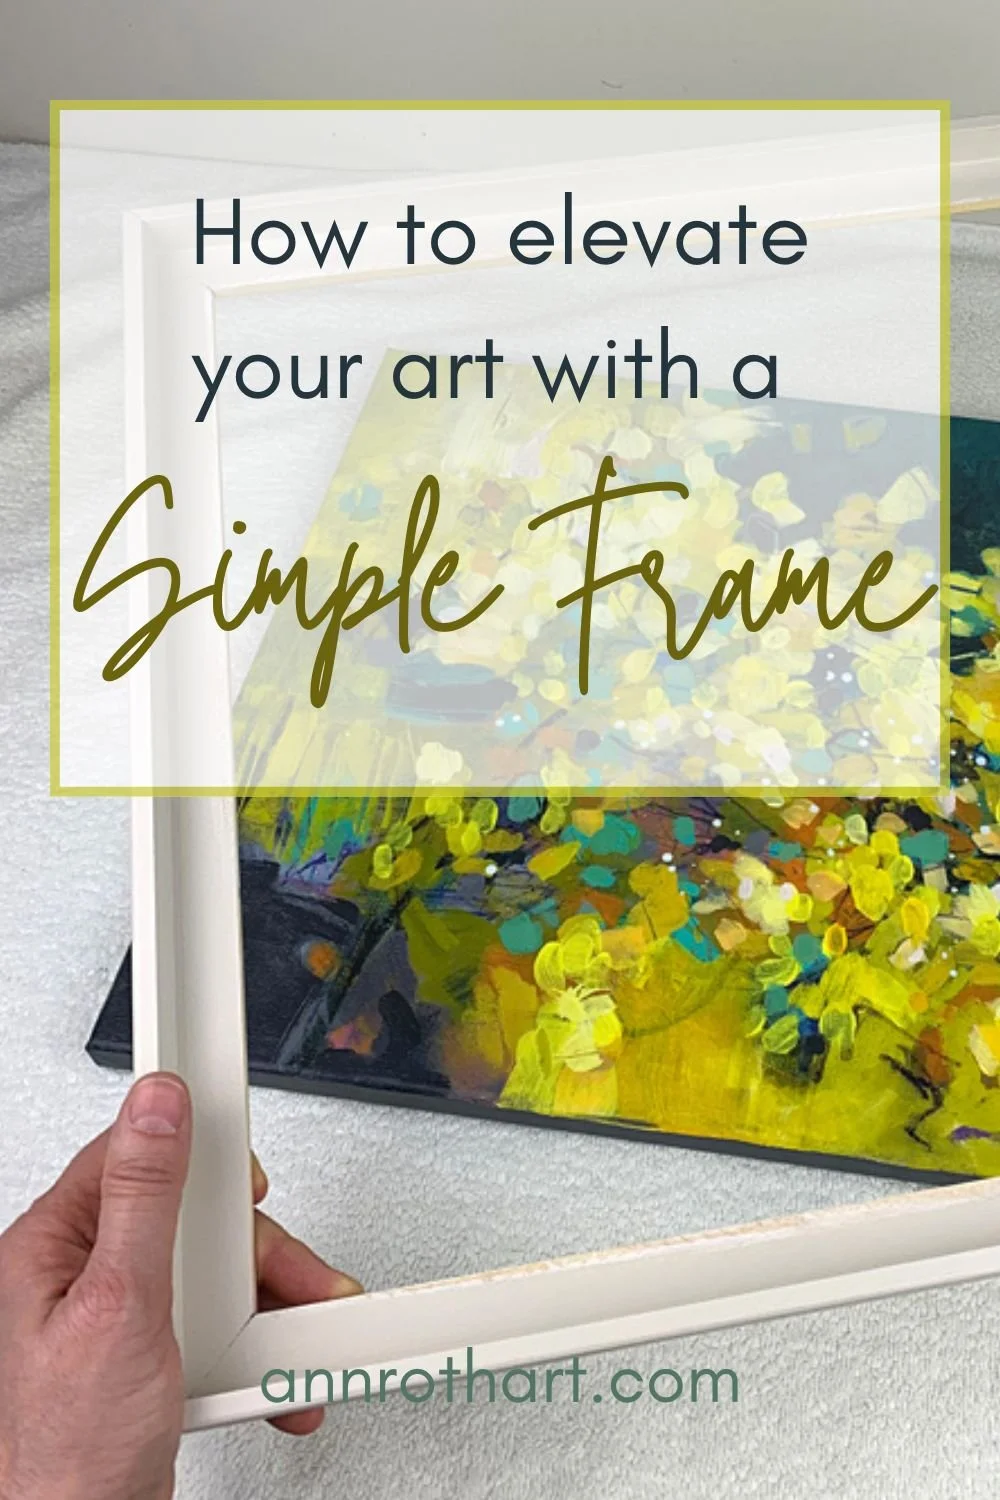
It was time to figure out how to build my own floater frames.
Making the frames
Framing material
I found corner moulding at the home improvement store which had just the right dimensions for my framing project.
Used for interior trim work, corner moulding is milled at a 90 degree angle with the outside dimension being a 1” in width and as luck would have it the inside dimension was a perfect ⅝” fit for my narrow panels. Despite my lack of planning it couldn’t have been a better fit!
Measuring
Because I wanted a 1/2 cm reveal between my painting and my floater frame 1 cm was added to the length measurement of my canvas panels.
Using a mitre box and my measurement for the inside corner of the frame, I cut a length of the corner moulding with a 45 degree angle on either end. After testing it against the painting to see that it was the correct length, I used this first length as the template for the other 3 lengths. Once all four pieces were cut to length, it was time to glue the frame together.

Assembly
Two of the pieces of moulding were fixed together at the ends to make a 90 degree corner.
Wood glue was used to attach the two pieces together and painters tape was used to hold the corner together while the glue dried. To ensure a perfect right angle, an “L” square was used as a jig. The outside corner made by the two pieces of glued moulding was butted against the inside corner of the “L” square while the glue dried.
After repeating the process with the other two pieces of corner moulding, I now had 2 right angle corners that were glued together to make my frame, once again using the “L” square to ensure right angles. Once the glue was dried I filled any defects in the frame with a little wood filler and let that dry.
After a light sand the frame was ready for paint.
Finishing
Once painted, all that was left was to fix the painting in the frame. Again I used wood glue to attach the painting to the frame.
In order to centre the painting inside of the floater frame, 4 pieces of foam core were used as spacers on each of the four sides. Because the foam core didn’t fill the space between the painting and the frame entirely, playing cards were slipped in beside the foam core, in equal numbers, to ensure a perfectly equal gap on all four sides.
Once the glue fully dried, and the foam core and playing cards were removed, I added hanging wire and two tiny screws to the back of the painting as an extra measure to hold the painting inside of the frame.

The finished frame.

The completed painting with it’s frame.
The whole process was repeated so that in the end I had a frame for each one of the six canvas experiment paintings.
Framing these narrow panels really elevated the look of these sunny yellow paintings and the process was simple using basic woodworking tools. You’ll find these and more cheerful paintings in the Hello, Yellow collection.
Add some colour to your inbox.The Studio Journal
A THOUGHTFULLY CRAFTED COLLECTION of STUDIO NEWS, CREATIVE INSIGHTS and INTERESTING TIDBITS JUST for FUN!