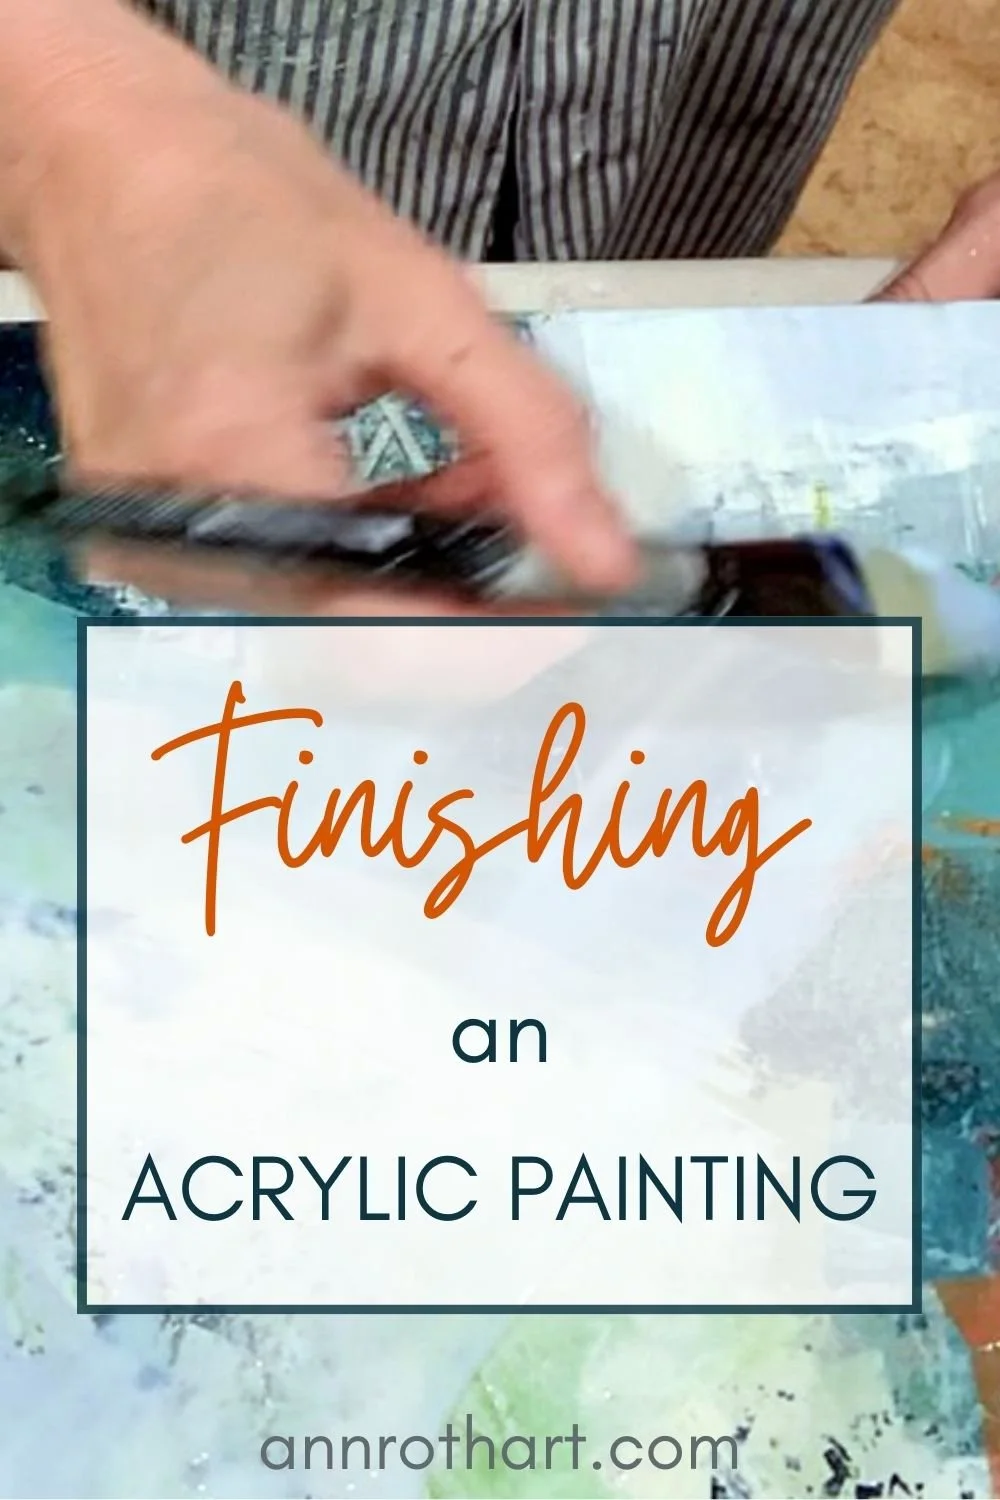
Finishing and Varnishing an Acrylic Painting
Few decisions needed
There are so many decisions to be made while in the midst of making art. That’s why I love the finishing stages of making an acrylic painting and preparing it for a life outside of the studio. It’s a pleasure to switch from decision making to task mode where few decisions are required.
Preparing edges
When working on a cradled panel, I never bother taping the edges of the panel to protect it from paint or other art making materials. So the first step of the finishing process is to give the edges a good sanding with an orbital sander. This will remove most of the paint and paper residue from the sides.
The goal in sanding is not perfection or to see completely paint free wood but rather to have a more or less smooth surface. Then it’s time to carefully dust the edges and the back of the panel and finally the front of the painting with a damp cloth to remove any remnants of sawdust or chips of paint.
Painting edges
Painting the edges, or sides of a cradled panel is an important step in my finishing process.
The work is slow and methodical and also bridges the space between a work in progress and one that is finished and that I’m ready to let go out to a wider audience. You can read more about painting the edges of panels in a previous post.
First a coat of acrylic primer is applied to the sides of the panel followed by two coats of acrylic paint in a colour that complements the colours of the painting. Next a coat of gloss medium is brushed on to seal the paint.
Signing the work
My signature is added to the front of the painting with a paint pen or fine marker in a discreet manner so that it blends with the painting and isn’t obvious on first viewing.
I like that someone who is looking at the work can see who made it without having to see the back of the panel, where my signature also appears.
After my signature is completely dry a layer of gloss medium is brushed over it to fix it in place.
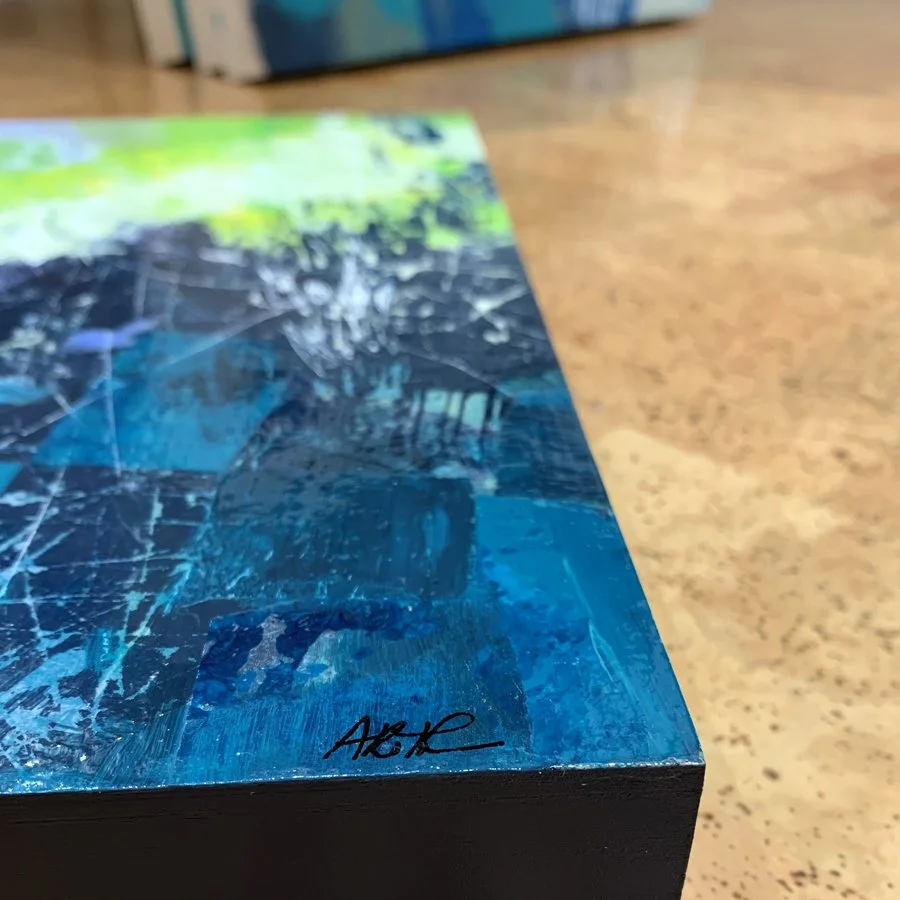
A small signature on a painting.
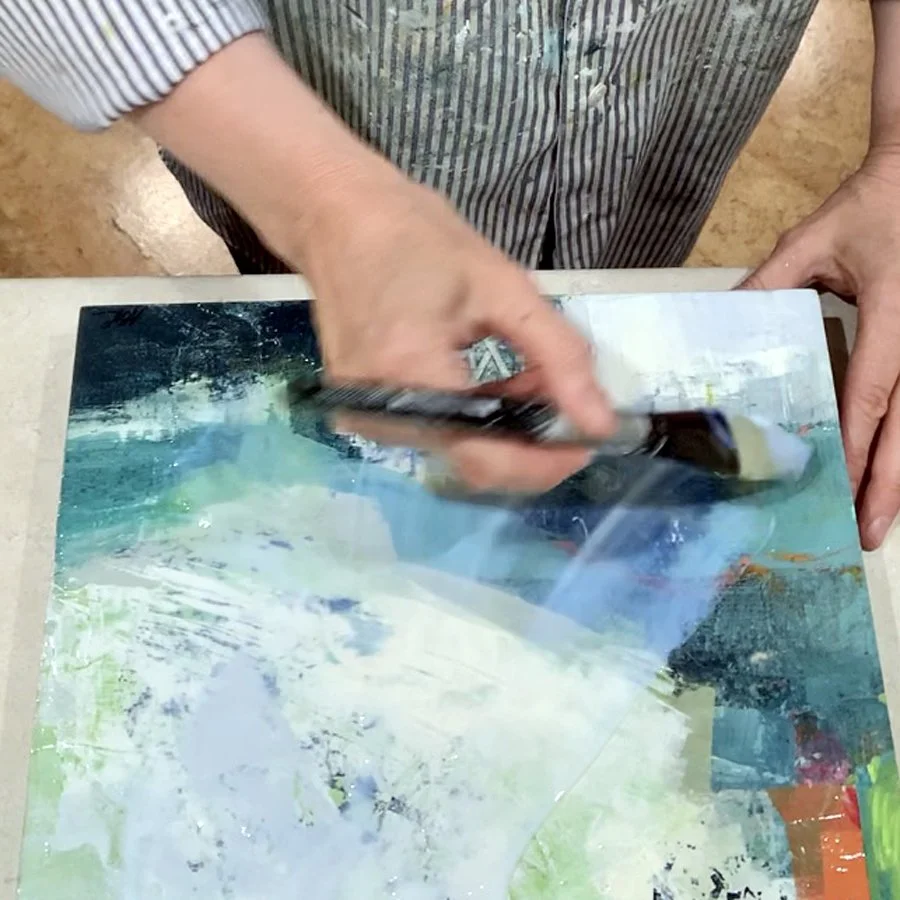
Brushing on clear leveling gel.
Clear leveling gel
Once the gloss medium is dry, a layer of clear leveling gel is poured on the surface. This medium is very thick and as the name suggests it levels itself to fill in any uneven sections. This helps to unify the surface of the painting.
A relatively thin layer is poured over the surface and then quickly brushed to the edges with a soft brush.
Any excess medium that runs over the edge is scraped back into the container for future use.
Sometimes bubbles appear on the surface and these will usually come out with gently brushing of the medium to the sides. A light scraping across the surface with a clean palette knife works too. A mist of rubbing alcohol sprayed on the wet surface will also help to eliminate bubbles.
Then the painting is placed on a level surface, away from any drafts, to thoroughly dry.
I like to give it at least a week so that I know it is fully dried before the varnish coat.
Varnish
After some trial and error I’ve figured out how to achieve the sheen level that I like for my work.
I use GOLDEN Polymer Varnish with UVLS in a combination of gloss finish and satin finish to achieve the sheen that I like best.
The gloss varnish is very glossy and it’s not the aesthetic that I want for my work. On the other hand, the satin varnish dulls the darks too much for my liking. So I’ve discovered, with a little trial and error that mixing the two together achieves the sheen level that I’m after.
The first coat applied is gloss varnish that is left to dry for at least 6 hours and often overnight or even for a few days. The second coat is a 50/50 mix of satin and gloss varnish applied in the same manner as the gloss varnish.
Using a dedicated soft, wide brush and moving quickly and methodically over the surface the 50/50mix of varnish is applied. I try to have a wet edge as I work and also avoid going over a section of wet varnish more than once.
Once the top surface of the painting is dry the edges of the panel are varnished with the same varnish mix.
Labelling and hanging hardware
Again, the varnish is left to dry for several days before hanging hardware and picture bumpers are added to the back.
A label is secured to the back of the panel using matte medium as an adhesive. The labels include the name of the work, information about the materials used, care instructions as well as my signature.
Ready for a new home
The time spent on the careful finishing of a painting allows me to reflect on the process of making a painting as well as to anticipate it having a life outside of the studio.
With these steps complete the work is ready to be shown to a wider audience and to find a new home with a collector.
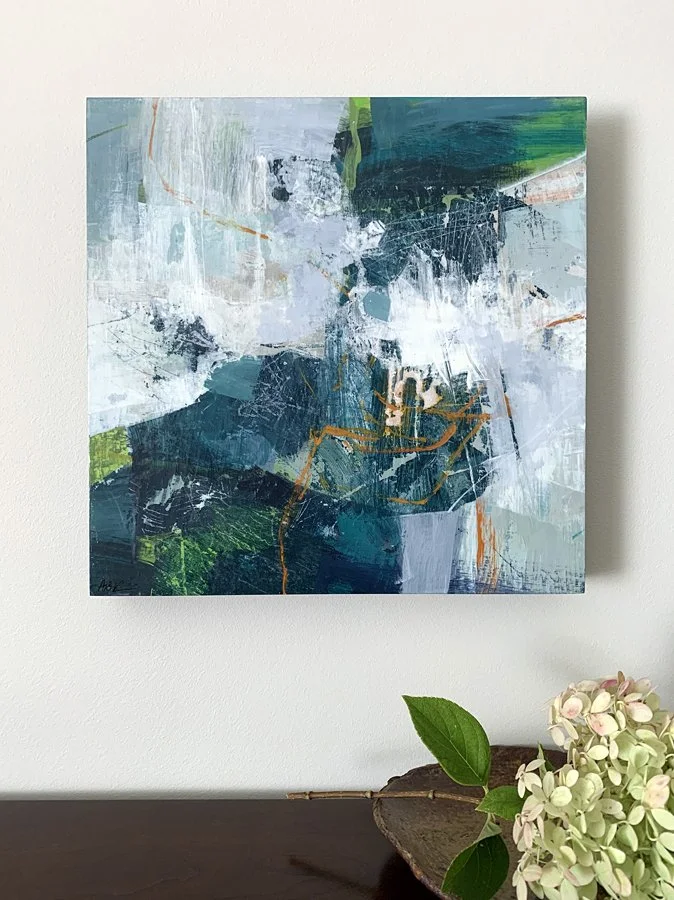
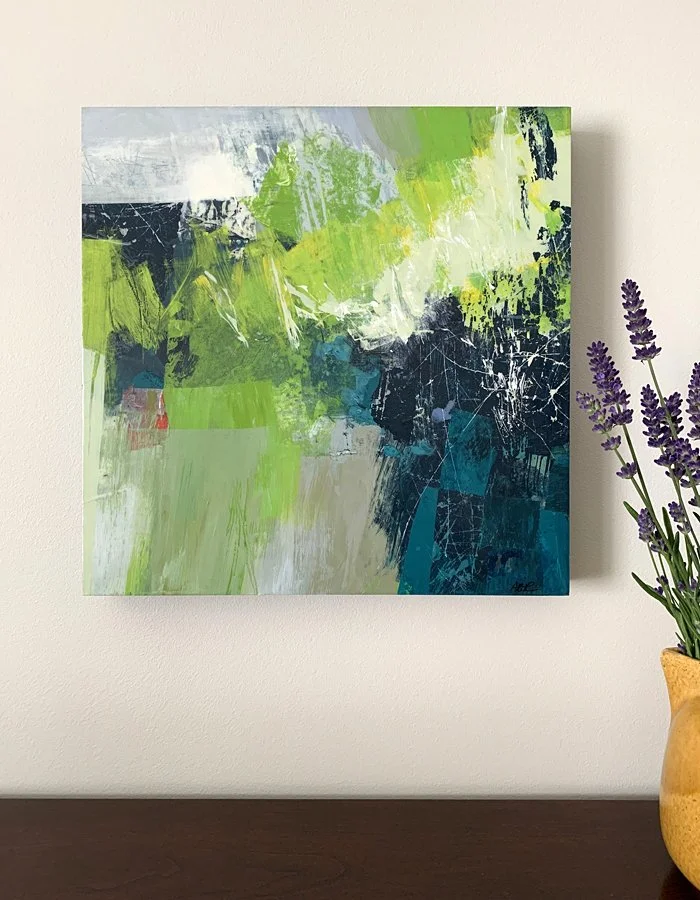
The paintings featured in this post are part of the Westerly Prevailing series.
You’ll see more meticulously finished sides of paintings on this shop page.
If you enjoyed this post, you might also enjoy receiving The Studio Journal, my monthly-ish email newsletter where I share studio happenings, artist tips and available artworks. Here’s the form to sign up.
Add some colour to your inbox.The Studio Journal
A THOUGHTFULLY CRAFTED COLLECTION of STUDIO NEWS, CREATIVE INSIGHTS and INTERESTING TIDBITS JUST for FUN!